

What you need:
Paper plates
Peacock coloured papers – green, purple and blue, shiny and non shiny
PVA glue
Pencil, scissors, hole punch
Ribbon
Goggly eyes
 |
| Body on main plate with the beginnings of the feather |
Step 1: Create feathers
Fold a paper plate in half and draw oval shapes from the fold line up until the edge of the plate where tip of the oval should be. These will vary in size, some will be small and others much longer. You’ll need about 18, with a few additional smaller ones to fill in gaps. Lay each feather onto green paper, draw around, cut out and glue on so that each feather is covered.
To create the ‘eyes’ draw different size circles in the different papers and glue these on in layers, ensuring the centre-piece is shaped as shown. Stick these onto the tops of the feathers.
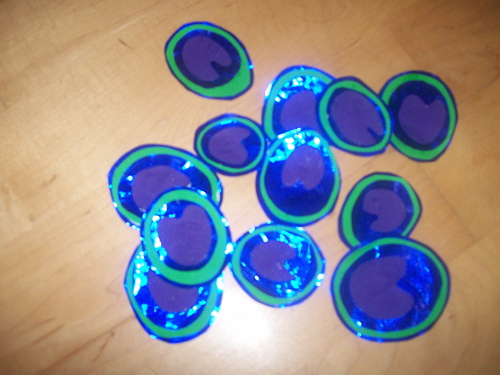 |
| Peacock eyes made by layering circles of coloured paper |
Step 2: Create body
Draw the peacock body on shiny blue paper and glue in the centre of your main plate. Arrange the feathers around the peacock and glue in place, fill in gaps with smaller feathers as needed.
Step 3: Finishing touches
Make a beak from orange paper and glue on the body along with two goggle eyes.
Punch two holes in the back of the plate and feed a ribbon through, tying together to form a hoop so you can hang your peacock.
Mine is dangling from my living room window and makes me smile in the mornings. Every home needs one, make yours today!
No comments:
Post a Comment